Load balancing
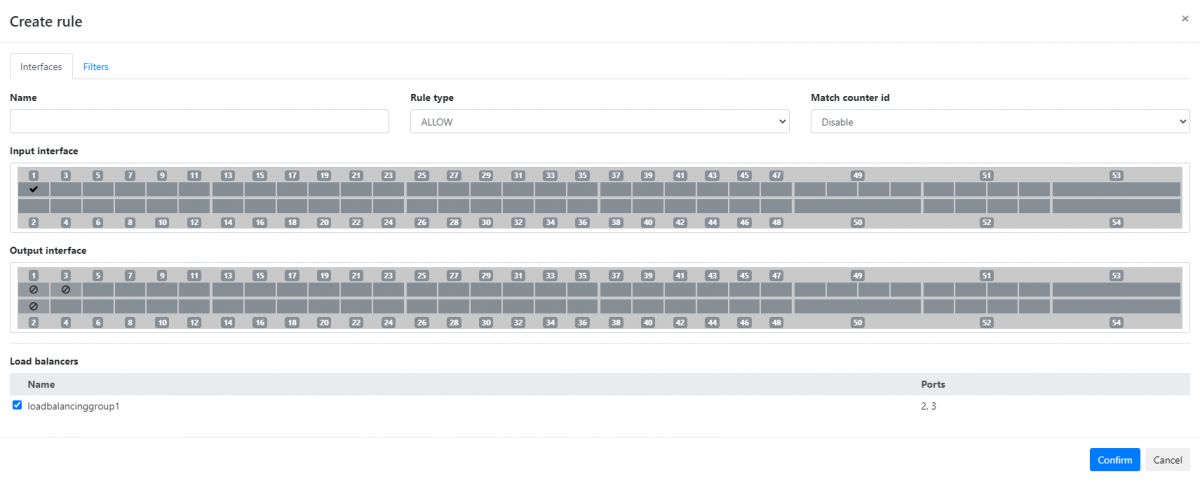
Load balancing means distributing a data stream evenly to multiple output ports, adjusting the distribution automatically based on the availability of the ports in the load balancing group. Aggregation, replication, load balancing, and filtering can be combined. In this example, we will perform the load balancing of traffic arriving on port 1, sending that traffic out to ports 2 and 3.
- Navigate to the web GUI's Traffic Management page.
- Open the Rule Sets tab.
- Create and configure a new rule set, or configure an existing rule set. To create a new rule set, click the Add Rule Set button and give the new rule set a name. To configure a rule set, click the cogwheel icon on the row of the rule set you would like to configure.
- Click the Add load balancing button to create a load balancing group. Fill in the Name field to give the group a name, click ports 2 and 3 to add them to the group, then click Confirm.

- Open the rule creation window by clicking the Add rule button.

- Give the new rule a name by typing it in the Name field (optional).
- In the Input interface section, click port 1 to select it.
- In the Load balancers section, tick the box next to the load balancing group we created above to select it as output.
- We can add filters in the Filters tab to target specific traffic. For this example, we assume that we want the entire traffic, and so we ignore the Filters tab.
- Click the Confirm button to finish creating the rule. The rule now appears in the list of rules.
- Click the Apply Rule Set button to activate the rule set.
The device will now evenly distribute the traffic incoming on port 1 to ports 2 and 3.
Note: In order to balance the traffic load among the output ports evenly, these will need to operate at the same speed. The user can configure the interface speeds correctly from the Port Management GUI or using the dedicated CLI commands.