Table of Contents
Quick start guide
Unpacking
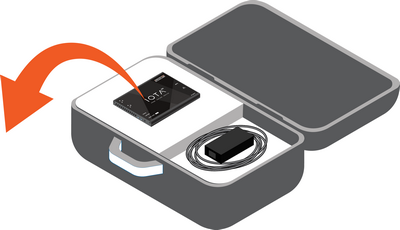
Carefully unpack all the supplied items and retain the packaging for later use.
- IOTA main unit
- 1 x Ethernet cable
- 12V 2.5A DC power supply (12V model)
- C13 power cable (12V model)
- 24–48V DC terminal block (24V model)
Note: Please contact the supplier if any part is missing or damaged.
Deploying
IOTA 1G
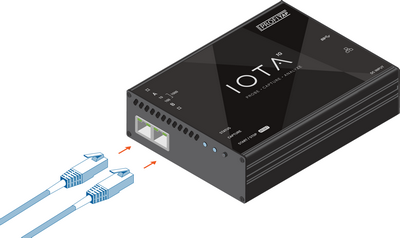
Connect the line you want to monitor to the RJ45 ports A and B of the IOTA, using category 5 UTP cables.
Note: When deploying IOTA 1G in-line, connect it to the network prior to powering it in order to make full use of its fail-safe capabilities. This step is critical to verify the availability of the in-line path in case of failover.
IOTA 1G+
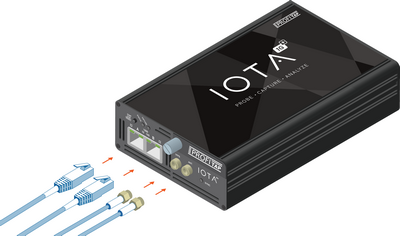
Connect the line you want to monitor to the RJ45 ports A and B of the IOTA, using category 5 UTP cables.
Note: When deploying IOTA 1G+ in-line, connect it to the network prior to powering it in order to make full use of its fail-safe capabilities. This step is critical to verify the availability of the in-line path in case of failover.
(Optional) Connect the GPS antenna to the IOTA's ANT port. Make sure to position the antenna outdoors or near a window for best results.
(Optional) Synchronize with another IOTA, ProfiShark, or other device, by connecting it to the 1PPS port, using a 50 Ohm cable.
IOTA 10G
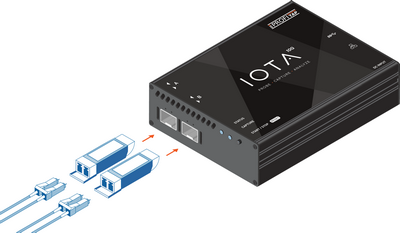
Carefully insert the SFP module(s), making sure the retention mechanism is closed.
For fiber SFP modules, insert the LC optical fiber cables of the line you want to monitor in the SFP modules, making sure to match the Tx-Rx / Tx-Rx signal direction at the other end. Make sure that the optical fiber connectors are free of dust, as it could affect the link.
For copper SFP modules, connect the line you want to monitor to ports A and B using cat 5 UTP cables.
Note: Due to the nature of SFP modules requiring power for operation, IOTA 10G doesn't include a bypass feature for fail-safe monitoring. An external TAP can be employed in order to implement fail-safe monitoring.
IOTA 10G+
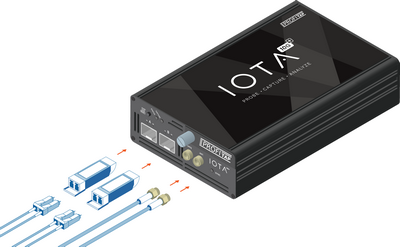
Carefully insert the SFP module(s), making sure the retention mechanism is closed.
For fiber SFP modules, insert the LC optical fiber cables of the line you want to monitor in the SFP modules, making sure to match the Tx-Rx / Tx-Rx signal direction at the other end. Make sure that the optical fiber connectors are free of dust, as it could affect the link.
For copper SFP modules, connect the line you want to monitor to ports A and B using cat 5 UTP cables.
Note: Due to the nature of SFP modules requiring power for operation, IOTA 10G+ doesn't include a bypass feature for fail-safe monitoring. An external TAP can be employed in order to implement fail-safe monitoring.
(Optional) Connect the GPS antenna to the IOTA's ANT port. Make sure to position the antenna outdoors or near a window for best results.
(Optional) Synchronize with another IOTA, ProfiShark, or other device, by connecting it to the 1PPS port, using a 50 Ohm cable.
Powering
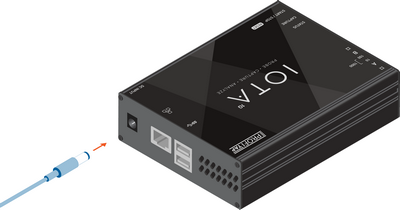
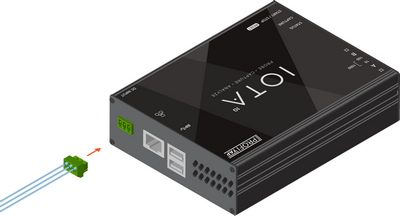
Connect the 12V 2.5A DC power supply, or the 24–48VDC terminal block, depending on the IOTA model. IOTA can also be powered via PoE+ over the management port by connecting it to a PoE+ switch. Connect both power port and PoE+ management port for redundant powering, ensuring continued operation in case either port were to be disconnected or unable to provide power.
IOTA boots automatically after a power connection is established. Its status can be observed via the activity LEDs.
Note: Initial boot may take some time to complete. When both the Status and Capture LEDs are green, IOTA has completed the boot sequence.
Note: When using an IOTA 10G+ with two 10GBASE-T SFPs, PoE+ alone may not provide enough power for operation. If that is the case, it is recommended to connect the 12 VDC (12V model) or 24–48 VDC (24V model) power inputs.
Accessing
To access the IOTA GUI over the network, connect to the HTTPS interface by browsing to the device IP of your IOTA.
The full URL should be: https://<ip_addr>
DHCP mode is enabled by default. If no IP is assigned to the IOTA, the default fallback IP is 169.254.1.1.
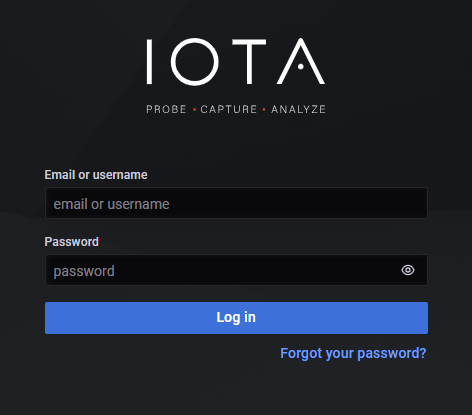
To login, use the following initial credentials:
- Default username:
admin - Default password:
admin
For more information on device access and network configuration, see Accessing IOTA & network configuration.
Configuring
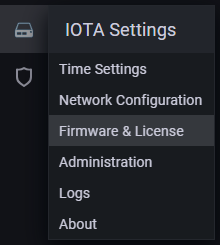
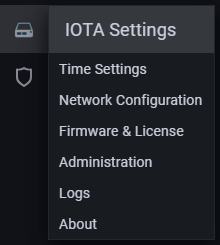
Use the IOTA GUI's IOTA Settings menu category to configure the device.
Updating
Navigate to the IOTA GUI's IOTA Settings > Firmware & License page to make sure your IOTA has the latest available software installed. For more information, see Firmware update.
